
Technique
How to Fix a Looping Cross Without Forcing Your Shoulder
Distinguish an unintended looping cross from a deliberate curved punch, then test a direct path with controlled video review.
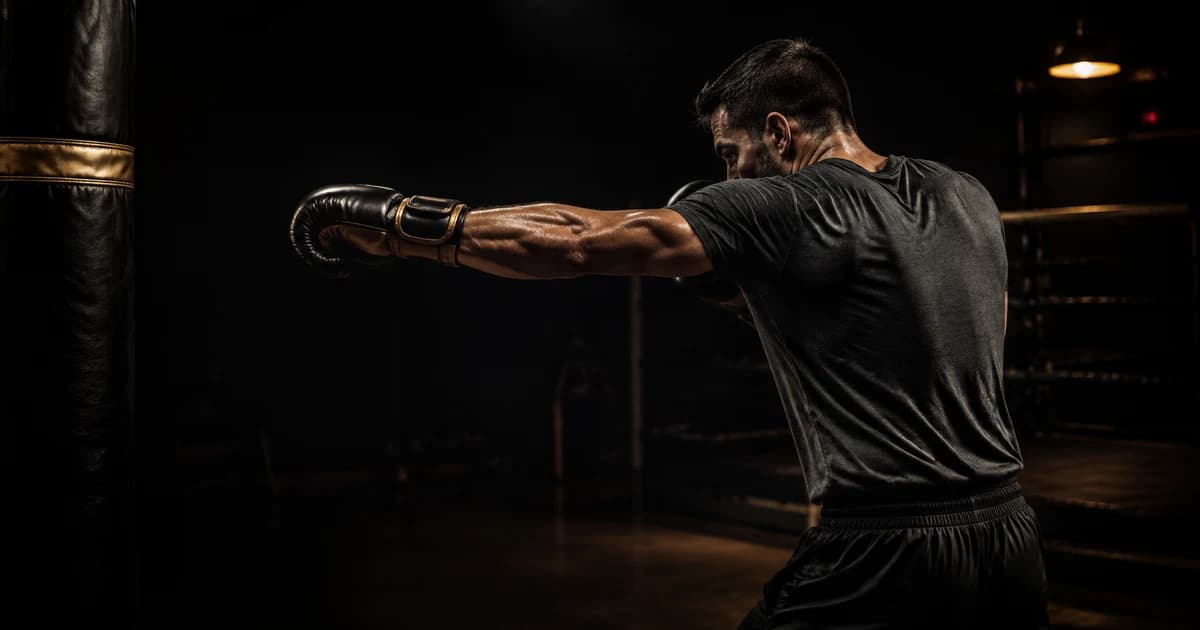
A looping cross is not simply any rear-hand punch that curves on camera. First confirm that you intended to throw a straight rear hand. A deliberate overhand, hook, or angle-changing punch follows a different task. If you intended a cross but consistently move your glove outside the direct target corridor, review the earliest point where you change the path.
Do not force your arm into a rigid line. Use controlled range, a clear target, and a view from which you can see depth.
Define the target corridor
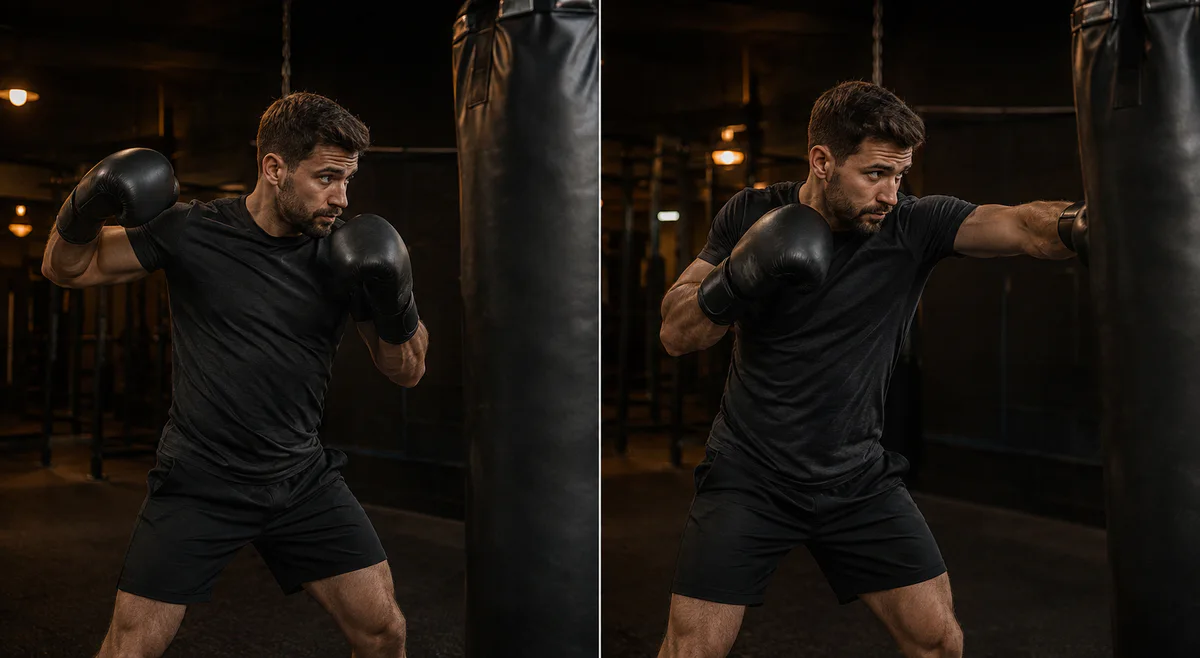
First define the punch you intended. Compare the earliest glove and elbow movement from the same starting guard.
Hang a small removable visual marker on the bag at an appropriate height. Begin in the stance your coach teaches. Record several rear straights without a preceding jab.
Review three phases:
- Departure: Do you move your glove backward, outward, or upward before sending it forward?
- Delivery: Do you send your elbow and glove around the target rather than toward it?
- Return: Do you return your hand along a useful path to guard, or continue moving it around your body?
Use “corridor” as a review tool, not a claim that every joint must occupy one geometric line. When you change camera perspective, you change apparent alignment. From a front view, you may miss forward depth. From a side view, you may miss lateral deviation.
The IBA Coaches Manual describes basic straight punches from a boxing stance and identifies incorrect body rotation, weight transfer, fist orientation, and return paths as common errors. The England Boxing Level 2 Handbook provides another structured reference. Apply those fundamentals within the technical system you train.
Film two useful angles
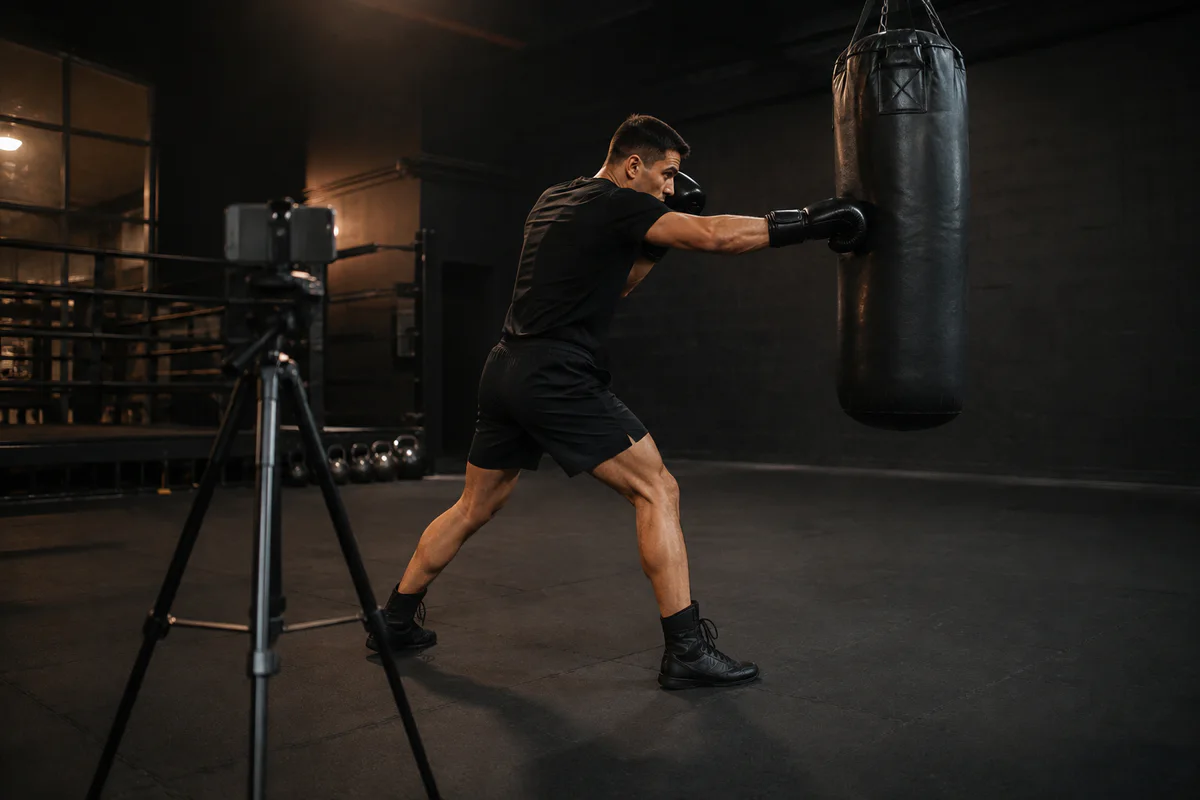
Use one fixed view to compare the path. Add a second view only when it answers a different question.
Use two separate sets rather than moving the camera mid-set.
- Open-side 45 degrees: lets you review the glove path, torso turn, stance, and recovery.
- Near-front view: lets you see whether you move the glove laterally before or during delivery.
Keep the target, distance, speed, and instruction identical. You can use ordinary video to identify a curved path. You cannot use it to measure joint torque, punch force, or whether you tolerated the shoulder motion safely.
Read the site filming guide and keep the entire punch inside the frame. If motion blur hides the first half of the punch, reduce speed or improve lighting before drawing a conclusion.
Locate the first detour
You pull the glove backward first
Use a quiet start. Hold your normal guard for one second, then send the glove toward the marker without a visible wind-up. Do not freeze your shoulders or remove every natural preparatory action. Test whether the unnecessary backward movement disappears.
You move your elbow off the path before the glove
Reduce reach and intensity. Throw the cross at a distance where you do not need to chase the target. Use one task: “glove to marker.” Let your coach evaluate the elbow and shoulder relationship rather than forcing a prescribed angle from an article.
Your whole body turns past the target
Plan the finish. Throw the cross, return both gloves, and take one controlled step away. If you must unwind before you can move, reduce the rotation and distance for the next set.
The return loops even when delivery looks direct
Review the delivery and return as separate phases. Test “send it through the corridor, bring it back through the corridor” at low speed. Do not add a hook until you can see the return clearly.
Use biomechanics without pretending phone video is a laboratory
Research comparing elite and junior boxers describes punching as a coordinated sequence involving the lower limbs, pelvis, trunk, shoulder, elbow, and wrist. The cross, hook, and uppercut analysis found different segment contributions between groups, but it did not define one visible elbow angle that every boxer should copy.
In the newer lower-limb kinetics research, researchers measured ground-reaction force and punch output across six punch types. Their findings reinforce that a rear straight is not merely an arm path. Include stance and recovery in your review, while remaining honest about what you cannot measure from a two-dimensional clip.
A controlled correction ladder
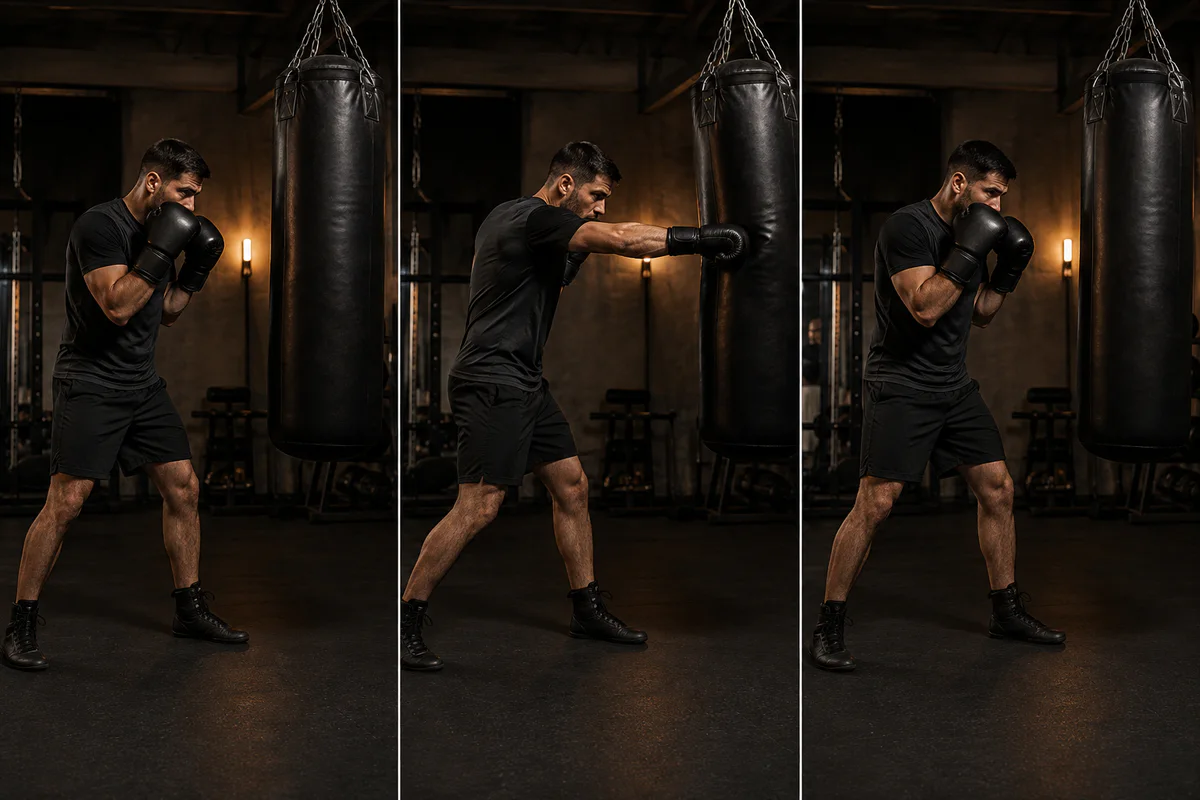
Shorten the range and lower the speed first. Restore complexity only after you can repeat the direct path.
Round 1: Air, standing
Throw three rear straights at low speed toward an imagined fixed point. Check departure and return. Stop if you feel pain.
Round 2: Light bag touch
Stand at a distance where you can touch the bag without reaching. Use the same three repetitions. Do not try to prove the correction with maximum power.
Round 3: Jab-cross
Add one jab only after the solo cross follows the intended path. Check whether the jab changes your range and causes the cross to loop.
Round 4: Exit
Finish the jab-cross with a planned step or pivot. The punch only solves the task when you can recover into the next action.
The existing jab guide and beginner combination guide provide broader context. Use this protocol for the narrower diagnostic question: why did you send an intended straight rear hand along a visibly curved route?
Use Boxing AI for a path comparison
You can use Boxing AI to review recorded boxing technique. You cannot use it to measure force, diagnose shoulder pain, or infer whether you intended to throw an overhand instead of a cross. Supply the drill objective with the clip.
Build a path-review card
Give each reviewed repetition one of four descriptions:
| Phase | Review question | Record only this |
|---|---|---|
| Setup | Did you preserve the declared guard before initiation? | Yes, no, or obscured |
| Departure | Did you add an unintended backward, upward, or outward detour? | Direction and repetition count |
| Delivery | Did you travel through the selected target corridor? | Comparable or not comparable |
| Recovery | Could you return and complete the planned next action? | Completed or required adjustment |
Do not score the punch from zero to ten unless you have defined what every number means. Use observable categories that another reviewer can reproduce. Mark a repetition “obscured” when you cannot see the relevant phase because of motion blur, the bag, clothing, or camera angle.
Bring your coach the task statement and two representative clips, not only the cleanest repetition. Ask whether the selected corridor matches the rear-straight variation they teach. If they change the target, range, or tactical purpose, record a new baseline. Do not compare a new task with an old one and attribute the difference to technique.
Keep an intentionally curved rear-hand punch in a different clip group. By separating it, you prevent your quality system from labelling overhands and tactical variations as defective crosses simply because they do not follow a straight-punch template.
Your pass standard
Count a repetition only when you send the glove toward the chosen marker without the unwanted detour and finish ready to defend or move. Confirm the pattern across comparable repetitions. Then ask your coach whether you can preserve it when you add speed, combinations, and tactical variation.
Save one baseline clip beside one revised clip. Label the intended punch, range, target, camera angle, and pace. If you changed any of those conditions, record a new baseline. This discipline stops you from crediting the path correction when a shorter distance or slower pace actually changed the result.