
Footwork
How to Keep Your Balance During a Boxing Pivot
Review one boxing pivot from setup through exit, preserve a usable stance, and avoid forcing your knee through a copied angle.
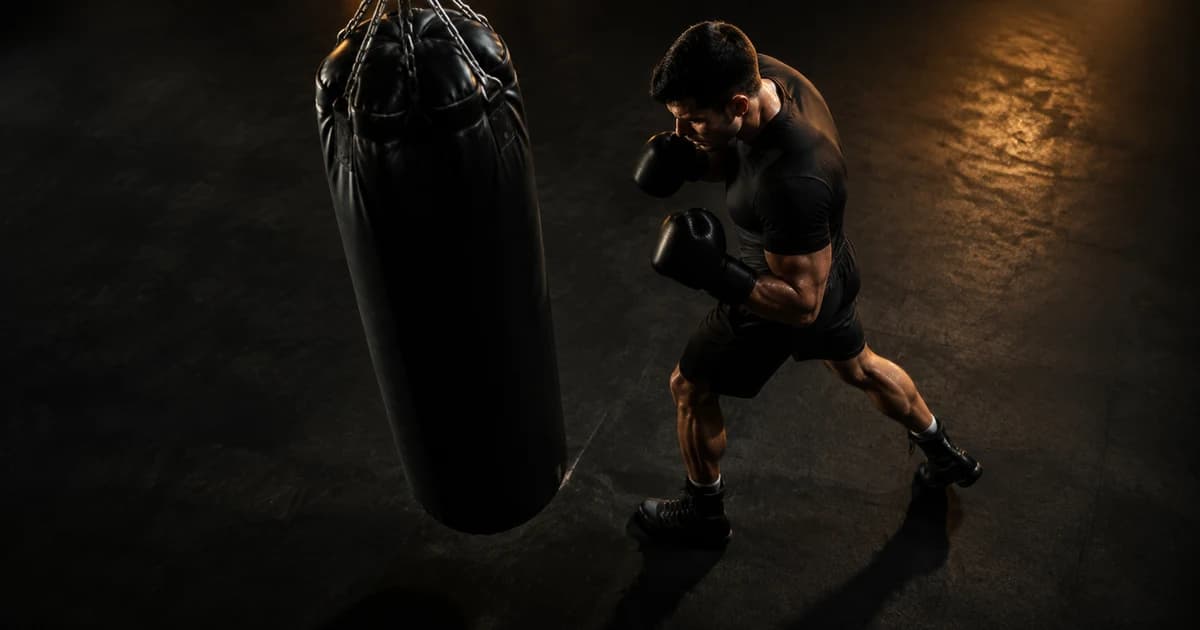
You keep useful balance during a boxing pivot when you finish able to punch, defend, or move without catching yourself. Do not judge the pivot only by how far you turn. Define the starting stance, intended direction, approximate turn, and required next action. Then test whether you preserve a stance your coach accepts.
Different gyms teach pivots for different tactical jobs. In the IBA Coaches Manual, IBA places boxing steps, lateral movement, stance variations, and turning actions inside a broader training system. The England Boxing Level 2 Handbook provides another structured reference. Do not turn either source or one screenshot into a universal pivot prescription.
Define the pivot before recording
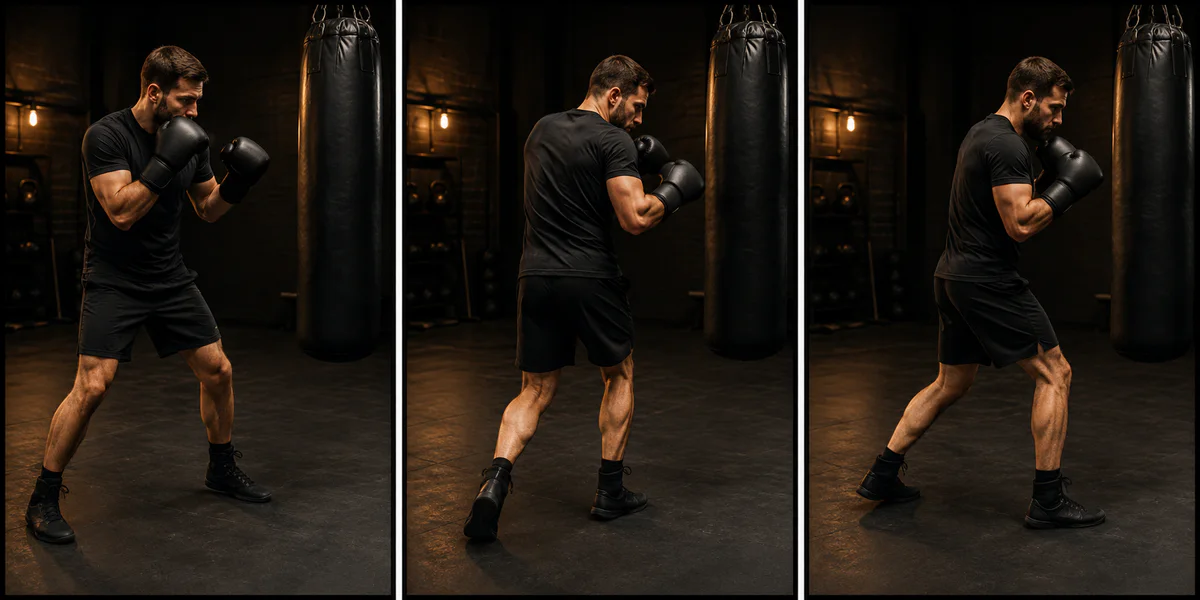
State which foot anchors, which direction you turn, and what you must do after the pivot before you review it.
Write the task:
Starting stance: orthodox
Direction: toward lead side
Target: heavy bag
Entry: no punch
Required finish: jab and one step out
Intensity: technical
This context lets you distinguish a deliberate stance switch or angle change from an unplanned loss of position.
Use a view that shows both feet
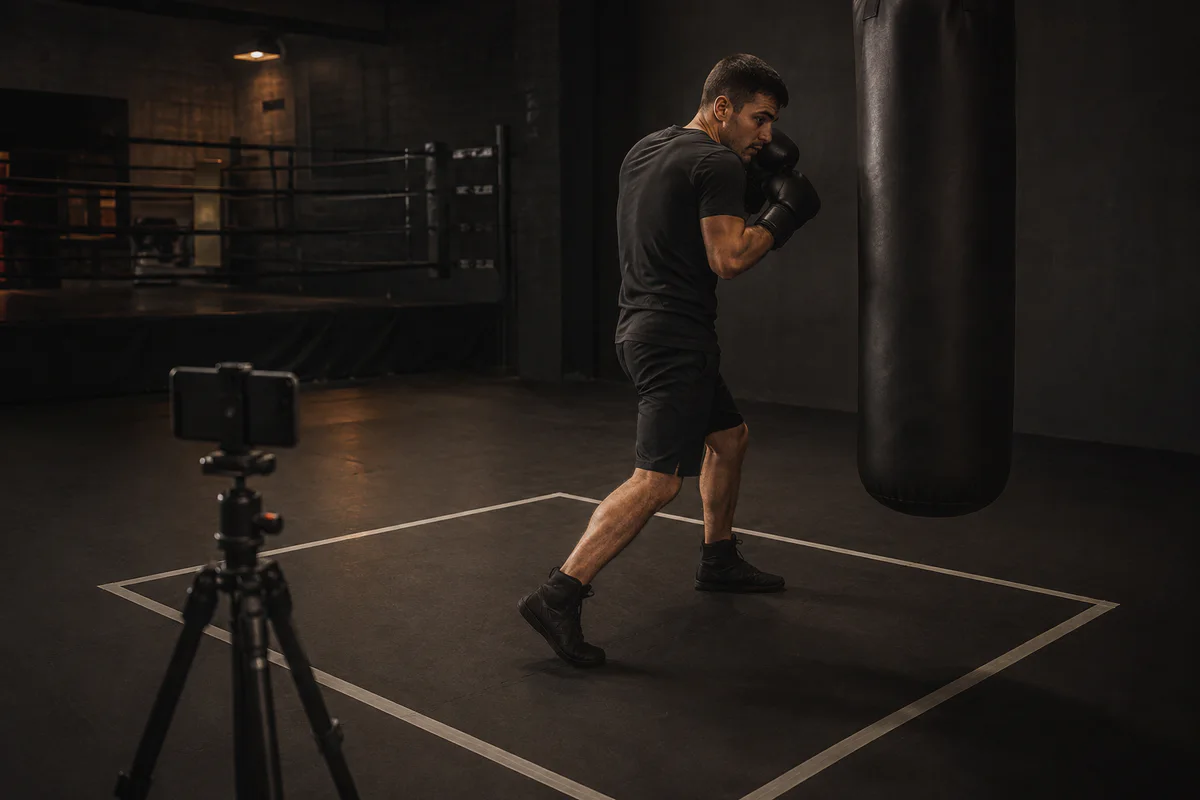
Place the camera outside the pivot area. Keep both feet visible from setup through finish.
Place the camera at an elevated three-quarter angle. Keep your head, gloves, hips, knees, both feet, and target visible. From an overhead-leaning view, you can inspect the floor path more easily, but you may not see how you position your trunk. Add a side-front set only when you cannot answer that question from the first view.
Use removable floor markers for your starting stance and target direction. Do not force yourself to land on an exact diagram. The markers help you compare repetitions.
Review five moments
- Starting stance.
- Initial pressure shift or step.
- Mid-turn.
- Completed turn.
- First action after the pivot.
Write what you can see. Useful observations include: “I brought my feet together at the end,” “I needed another step before the jab,” or “I rotated farther than the drill required.” Avoid unsupported explanations about joint weakness or vestibular function.
Diagnose the failed phase
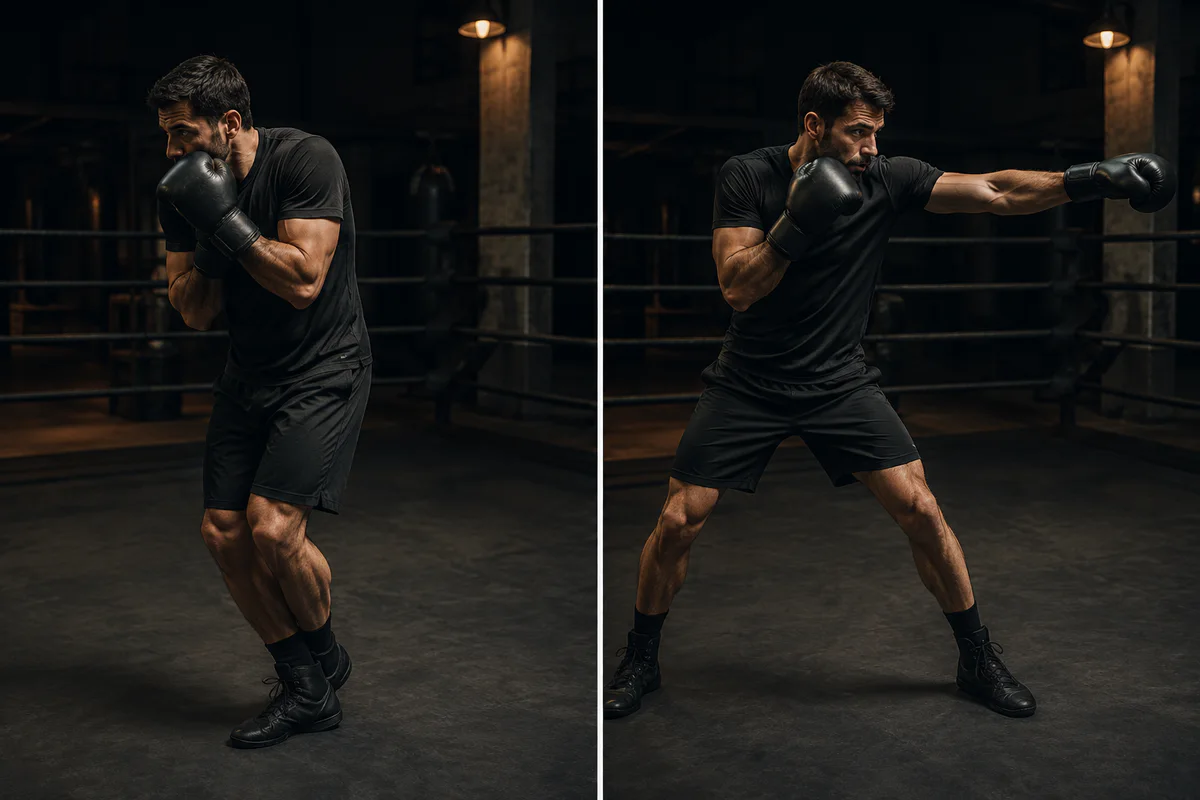
Judge the pivot through the next action. Check whether you can punch, defend, or exit without rebuilding your stance.
You lose stance width before turning
Reduce the pivot. Practise a smaller coach-approved angle and stop. Preserve enough space to move again. Do not chase a larger rotation until you control the smaller action.
You turn one side but leave the other behind
Slow the sequence and ask your coach how to reorganize both feet for this pivot. You can use ordinary video to see whether you delayed or omitted a step. You cannot use it to measure pressure distribution or identify which joint produced the movement.
You continue rotating after reaching the angle
Add a visible finish task, such as a jab toward the new line or one step away. If you cannot execute it, reduce speed and turn distance.
You twist through discomfort
Stop. Do not force a foot to stay planted or copy an angle from an article. Return to a smaller controlled turn, and seek an appropriate clinician for pain or injury concerns.
Build the pivot in four layers
Layer 1: Turn and hold
Perform one small pivot without a punch. Finish in a position you can hold briefly while breathing normally.
Layer 2: Turn and move
Complete the pivot, then take one controlled step in a direction your coach chooses. This tests whether the pivot produced a usable stance rather than a photogenic endpoint.
Layer 3: Punch and pivot
Add one jab before or after the pivot according to the drill. Check whether you change your turn when reaching for the bag.
Layer 4: Combination and exit
Add only one short combination. If you lose balance, remove the last layer and find the transition where control changed.
Use the existing boxing footwork drills and boxing stance guide for broader practice. Use the crossing-feet protocol when the specific failure involves an unintended crossing path.
What you can learn from video and research
Boxing biomechanics research demonstrates that punching and stability involve coordinated contributions across the lower limbs, trunk, and upper limbs. See the cross, hook, and uppercut study and the newer lower-limb kinetics study.
Researchers in those studies used force platforms, inertial sensors, or other laboratory equipment. You can use your clip to review sequence, visible foot placement, approximate turn, and recovery. You cannot use it to measure ground-reaction force, pressure under each foot, joint torque, or neurological balance.
Use Boxing AI after you define the finish
You can use Boxing AI to review visible footwork and technique. You cannot use it to diagnose pain, measure forces, or decide which pivot belongs in your coach’s tactical system.
Build a pivot decision record
Capture the information another reviewer needs:
| Field | Example of a defensible entry |
|---|---|
| Declared turn | Lead-side quarter turn around a stationary bag |
| Required finish | Jab toward the new line, then step out |
| First failed moment | Needed an extra step before the jab in three attempts |
| Camera limitation | Bag hid the rear side during mid-turn |
| Next test | Repeat from elevated open-side view |
Do not write that you “have bad balance.” Describe the failed action and the evidence quality. Mark the clip inconclusive when you cannot see both feet.
Ask your coach to confirm the pivot type before comparing angles. A lead-side pivot, rear-side turn, stance switch, and emergency direction change should not share one automated standard. Store each as a separate task.
Retest with the smallest successful angle, then add range only when your coach approves. Use one next action to prove that you finished in a usable position. If you can hold the endpoint but cannot move or punch from it, the static image has not answered the functional question.
Review again on another day and under one additional layer, such as a jab or verbal cue. Do not add contact merely to test balance.
Separate precision from range
Measure the turn only after your coach defines its purpose. Place one removable line toward the original target and another toward the intended finish. Record where you aim at the start and where you can act at the end. Do not use the lines to force an exact foot angle.
Run three small-turn attempts and three larger-turn attempts at the same pace. After each attempt, perform the same jab or exit. Record whether you completed that next action without pausing, hopping, or taking an extra step. You may discover that you can control the smaller turn even though the larger turn looks more dramatic.
Keep three outcomes separate:
- You reached the intended line and completed the next action.
- You reached the line but needed an unplanned adjustment.
- You did not reach the line, yet you retained enough control to continue.
Take those results to your coach. They can decide whether you need more turn, less turn, or a different pivot for the tactical problem. Give them the repeatable evidence from your video comparison. Do not use that comparison to choose the technique by itself.
Your pass standard
You pass when you can complete the selected pivot and immediately execute the declared punch, defense, or movement without an unplanned step. Confirm the result across controlled repetitions before your coach adds speed, partner pressure, or contact.