
Fundamentals
Is Your Boxing Stance Too Square? Use Functional Tests, Not One Angle
Test whether you can move, defend, and punch from your stance instead of chasing one universal shoulder or foot angle.

Call your boxing stance “too square” only when you cannot complete the assigned task because of its orientation. A front-facing stance is not automatically wrong. The IBA Coaches Manual presents several stance frameworks across its basic and advanced technique sections. You therefore should not use a universal shoulder-angle test.
Use function first. Can you move, punch, defend, and recover without an unplanned adjustment? If not, identify the failed action before changing your stance.
Start with the task, not the silhouette
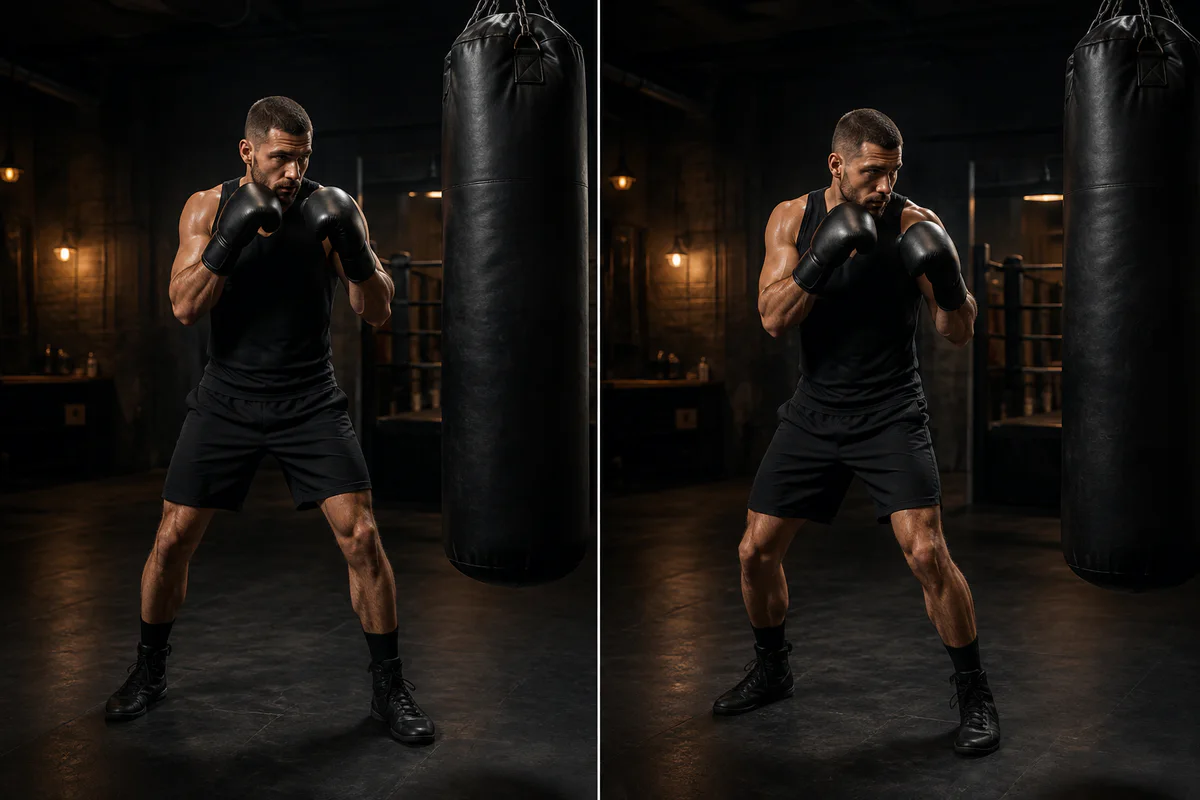
Do not choose a stance from one still frame. Use the comparison to define what you want to test while moving, punching, and defending.
Write down the context:
- Long-range technical boxing.
- Short-range work.
- Bag or mitt drill.
- Defensive movement.
- An orthodox-southpaw matchup.
You may take a more or less square stance as distance and tactical demands change. You cannot tell from a still frame whether you chose that variation deliberately.
Use the existing orthodox versus southpaw guide to test stance choice. Here, test a different question: does your current orientation prevent a specific action?
Run four functional tests
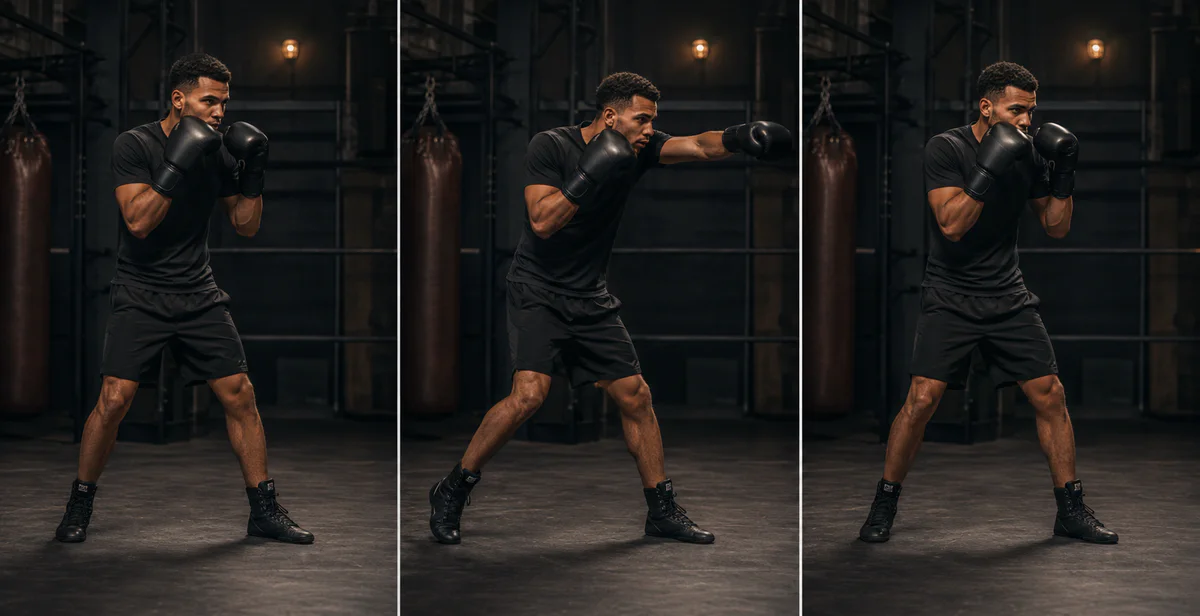
Keep one stance through the whole test. Check whether you can step, punch, defend, and recover without rebuilding your base.
Film the tests from a front-side 45-degree angle with your full body visible.
1. Direction test
From your normal stance, make one controlled step forward, backward, left, and right. Return to a usable stance after each step. Note whether one direction forces your feet to cross, collide, or make an extra adjustment.
2. Lead-hand test
Throw three controlled jabs. Check whether your lead shoulder and glove can travel toward the target without pulling your head across your base or opening the rear hand unnecessarily.
3. Rear-straight test
Throw three rear straights at manageable range. Check whether you coordinate your feet, hips, and trunk while preserving a recoverable position. Researchers who studied straight-punch performance found coordinated lower-limb and trunk contributions, not a shoulder angle in isolation. See the lead-straight study and the lead-versus-rear analysis.
4. Defense-and-exit test
Perform one coach-approved defensive action, then leave at a controlled angle. Ask whether your starting orientation gave you enough room to complete the movement without tangling your feet or turning your back.
Do not combine the four tests into one chaotic round. Separate them so you can identify where control changes.
What to inspect on video

Choose a view that shows both feet and both shoulders. A waist-up clip cannot answer a stance-width question.
| Visible question | Useful observation | Unsupported conclusion |
|---|---|---|
| Can you preserve stance width while moving? | “I brought my feet together on three rightward steps.” | “I use the wrong stance for my body.” |
| Can you deliver both hands? | “I stopped turning my rear shoulder before I reached the target with my glove.” | “I need a specific hip angle.” |
| Can you recover? | “I needed a second step after every cross.” | “My balance system is weak.” |
| Can you defend? | “My rear glove moved away during the jab.” | “A square stance always lowers defense.” |
When you record three-dimensional movement with a phone, you compress it into two dimensions. From a near-front view, you may struggle to judge depth. From a side view, you may not see how square you appear. Use two separate angles only when you cannot answer the question from one angle, and never splice different repetitions into one imaginary movement.
Test a smaller change than you think you need
If one task fails, rotate or reposition only enough to retest it under your coach’s guidance. Do not rebuild your whole stance from a screenshot.
For example:
- Mark your original foot positions with removable tape.
- Change only the lead-foot or torso orientation your coach selected.
- Repeat one failed functional test.
- Compare the recovery, not just the starting picture.
If you improve one action but block another, keep both findings. Boxing technique involves tradeoffs. You may need a different stance at short range than you use at long range.
Avoid three false fixes
Chasing a universal number
You cannot use a phone-video angle to prove that every boxer needs the same number of degrees between the feet, hips, or shoulders. When you change camera placement or lens perspective, you may also distort your estimate.
Turning sideways until you cannot use the rear side
Looking less square does not automatically improve your boxing. Retest the rear straight, movement, and defense after every change.
Copying a professional’s freeze frame
You do not know the tactical moment, preceding movement, physical constraints, or next action from a single image. Use the cited stance framework and your own repeatable task.
Build a repeatable stance record
Use the boxing stance guide to establish your starting reference. Record five seconds before the first action and five seconds after the last. That extra footage shows whether you adopted an artificial posture only for the punch.
Name each clip by task, not by judgment:
stance-forward-step-baseline
stance-jab-baseline
stance-cross-revision-1
stance-exit-revision-1
Use this record with your coach to compare the same problem over time.
Use Boxing AI after you define the task
You can use the app to review visible boxing technique. You cannot use it to prescribe one stance for every boxer, observe pressure outside the frame, or replace a coach who can move around you and change the drill.
Create a stance decision table with your coach
Do not store one label such as “too square.” Store the tradeoff you observed:
| Task | Original result | Small adjustment | Retest result |
|---|---|---|---|
| Step right and return | Required an extra step | Coach changed starting orientation | Compare three attempts |
| Rear straight and exit | Reached the target but could not exit | Coach changed distance first | Compare the exit |
| Defend and counter | Camera view obscured the rear side | Move the camera | Do not judge yet |
Use this table to keep one visual preference from overruling performance and to record when you lack enough evidence.
Ask your coach three questions: Which task should this stance solve? Which variation are we testing? What must remain possible after the action? Those answers create the standard for the next recording.
Do not merge clips from long range, short range, bag work, and sparring into one stance score. Build separate baselines when the task changes substantially. A stance can serve one distance and fail another without being universally wrong.
Your pass standard
Do not try to make your stance look less square. Choose a stance that supports the action you need. With a useful adjustment, you can complete the chosen movement, punch, or defense across repeated controlled attempts and preserve a position from which you can continue boxing.
Ask your coach to approve the change before you carry it into fast partner work or sparring.
Keep the rejected variation in your record too. Note which task became harder and why your coach rejected the change. By keeping that evidence, you can avoid repeating the same visual adjustment later and distinguish a useful stance decision from a preference for how one frame looks.