
Technique
How to Keep Your Rear Hand Up When You Throw a Lead Hook
Isolate an opposite-hand guard drop, test a compact lead hook, and verify the return without pretending one guard fits every exchange.
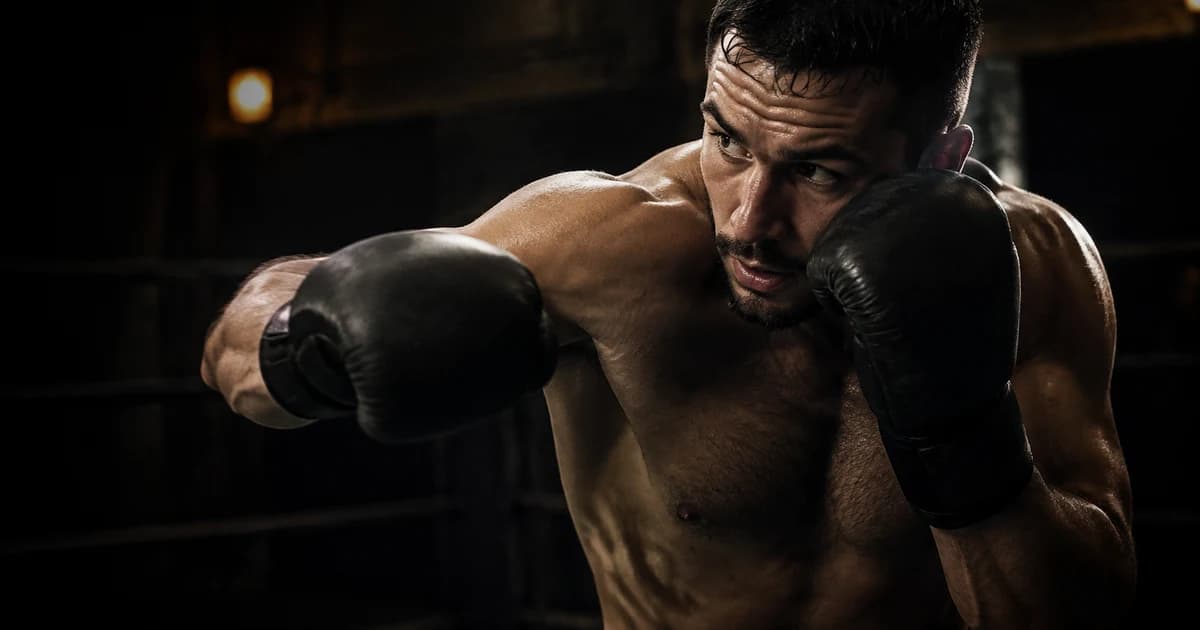
If you lower your rear hand when you throw a lead hook, identify whether you move it before the hook, during the arc, or after the punch. Do not solve the problem by clamping your glove rigidly to your face in every exchange. Establish a coach-approved baseline, preserve it during a controlled drill, and then test how you change the guard under tactical demands.
In the IBA Coaches Manual, IBA instructors describe basic punches with the non-punching hand protecting the boxer and list failures to protect the chin among common errors. Use that material as a foundational training reference. Your coach should decide how you adapt the guard for range, defense, vision, and follow-up actions.
Isolate the non-punching hand
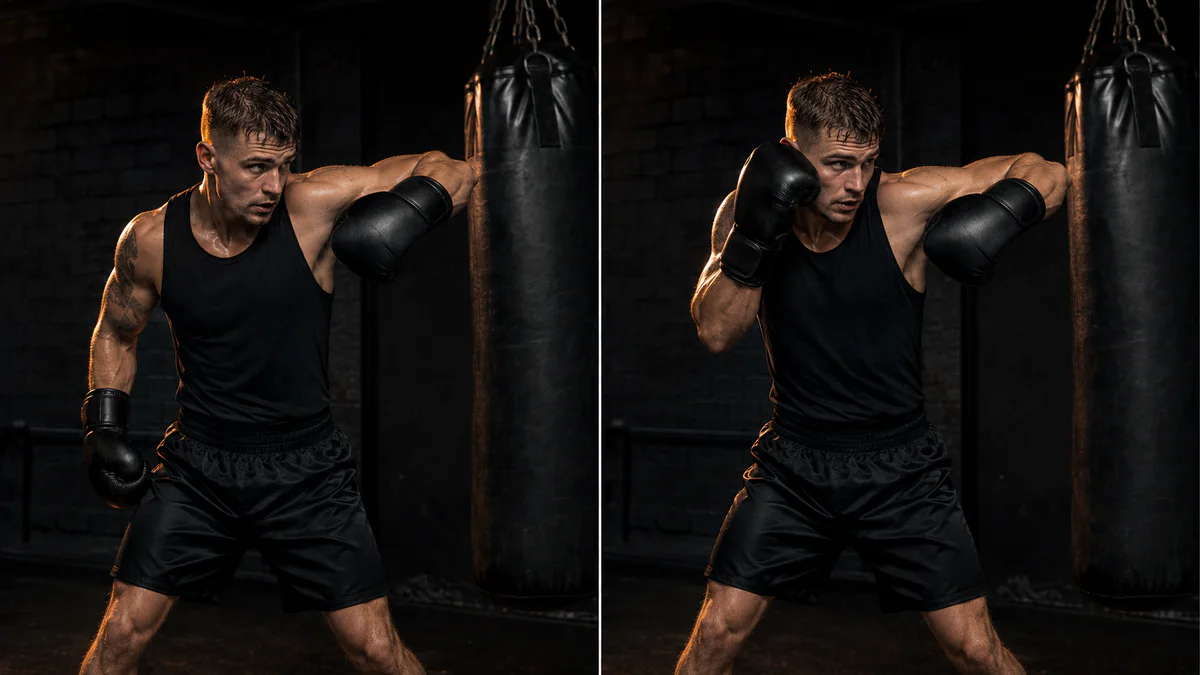
Assign the rear hand one responsibility for this drill. Review that task separately from hook power or style.
Record three lead hooks from a stable stance. Use light shadowboxing or controlled bag contact. Pause each repetition at:
- Your starting guard.
- The first movement.
- The middle of the hook arc.
- Your farthest controlled reach.
- Your completed recovery.
Track where you place the rear glove relative to your cheek and chin. Write a literal result: “I moved my rear glove below my chin before I began the lead hook in four repetitions.” Do not write that you felt afraid of the counter or tried to create power. You cannot use the video to establish either explanation.
Choose a view that keeps both gloves visible
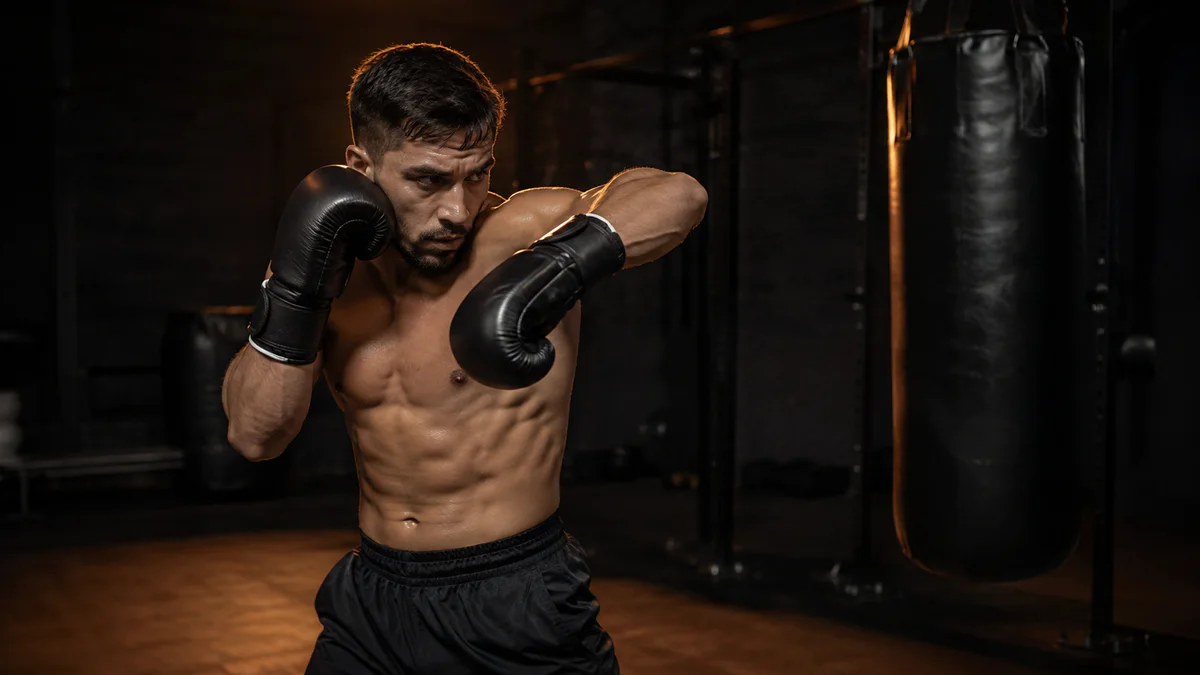
Choose a camera angle that shows both gloves at once. If one glove leaves the frame, record again.
Use a near-front or open-side 45-degree view. Keep your head, both gloves, elbows, trunk, hips, and feet in frame. Avoid placing the camera directly behind the punching side, where you may hide the rear glove behind your lead shoulder.
Record the same drill from only one angle per set. If you need a second view, repeat the task under the same conditions. Follow the boxing filming guide and preserve several seconds before and after the punches.
Distinguish three guard-drop patterns
You move the rear hand before initiation
Hold your normal guard for one second before the hook. Use the task “lead glove to marker, rear glove stays at home.” Throw three low-speed repetitions. Ask whether you removed the preparatory movement without adding excessive tension.
You pull the rear side backward during the hook
Reduce range and intensity. Test whether you are using the rear arm as a counterweight because you throw beyond the distance you can control. Move closer if your coach approves, then retest the compact hook.
You lower the rear hand after contact
Plan the return before you punch. Finish the hook, return both gloves, and perform one simple defensive or movement action. You may be relaxing because you treat contact as the end of the drill.
Keep hook width and guard position separate
A wide hook and a rear-hand drop can happen together, but they remain different observations. Use the wide lead-hook protocol when you take an unintended long arc. Work on one variable per set:
- Set A: preserve the rear-hand baseline.
- Set B: test the lead-hook path.
- Set C: combine both only after each task improves alone.
Do not declare the combined action solved because one frame looks compact. Review the entire punch and recovery.
Add complexity in controlled layers
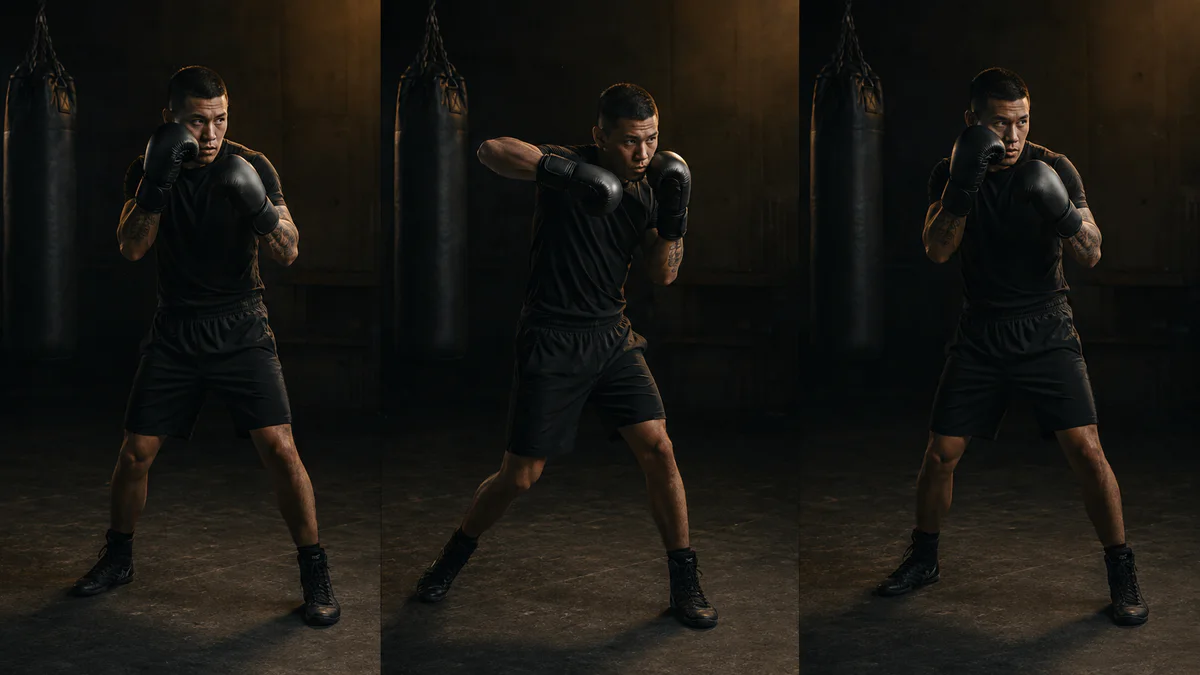
Start with one hook. Add a preceding punch or exit only after the opposite-hand task remains visible and repeatable.
Standing lead hook
Throw three hooks without a step or preceding punch. Check only the rear-hand position and final recovery.
Jab-lead hook
Add one jab. Ask whether you leave the rear glove away from guard after the jab or move it while the lead hook starts.
Lead hook and exit
Add one coach-approved step or pivot after the hook. Confirm that you can return both gloves before or during the planned movement according to the drill.
Controlled defensive stimulus
Add a partner cue, mitt return, or other defensive demand only in supervised technical practice with agreed intensity and contact. Do not improvise contact to test a guard correction.
Use the broad hook technique guide for the complete punch. Use this protocol for the narrower task of preserving the opposite guard during one lead-hook drill.
What biomechanics research contributes
The biomechanical comparison of the cross, hook, and uppercut measured force, velocity, stability, and segment contributions. It supports reviewing the whole action rather than treating one arm as an isolated lever. It does not establish one rear-hand coordinate that every boxer must hold.
The lower-limb kinetics study also reinforces the role of coordinated lower-body action across punches. Do not respond to a guard problem by creating an exaggerated arm-only hook. Keep stance, trunk action, target range, and recovery inside the review.
Use Boxing AI for a precise comparison
You can use Boxing AI to review visible boxing mechanics. You cannot use it to observe an opponent outside the frame, determine tactical intent you did not provide, measure joint loading, or make live tactical decisions for you.
Use an opposite-hand responsibility card
Record the guard task without pretending it remains static:
Lead-hook variation:
Target and range:
Rear-hand starting responsibility:
Planned defensive transition:
First visible departure:
Repetitions affected:
Coach-selected revision:
“Starting responsibility” matters more than a generic instruction to keep your hand up. Your coach may assign a conventional cheek guard, a catch, a frame, or another transition. Record the requirement before you judge the movement.
Show your coach a typical repetition rather than only the largest drop. Ask whether you moved the rear hand unnecessarily or changed it for a legitimate defensive purpose. If the answer depends on opponent position, repeat the test in a coach-controlled task instead of inventing context from solo bag footage.
After you improve the standing hook, add only one layer. Choose a jab entry, a step, or a defensive cue. Check whether you keep the assigned responsibility through the new transition. If the drop returns, remove the layer and compare the two clips.
Do not increase contact to make the test feel realistic. Keep every partner demand supervised and controlled, and stop when you feel pain, dizziness, confusion, or unusual loss of coordination.
Check the transition before the hook
Sometimes you begin the problem before you start the lead hook. Record three isolated hooks, then three jab-lead-hook repetitions at the same technical pace. Compare the moment immediately after the jab with the moment when you initiate the hook.
Write one of three results:
- I had already moved my rear glove before I started the hook.
- I moved my rear glove only as I initiated the hook.
- I kept the assigned position through both phases.
This comparison separates a jab-recovery problem from a hook problem. If you move the rear glove during the jab, shorten the sequence and work from that earlier transition. If you preserve it after the jab but move it during the hook, keep the review on the hook.
Use the same target, distance, camera angle, and pace for both sets. Ask your coach to define the defensive responsibility for each phase. Do not copy a static guard from a photograph when your coach has assigned a catch, frame, parry, or movement transition.
Your pass standard
You pass the baseline drill when you can throw the selected lead hook and preserve the defensive position your coach assigned across several controlled repetitions. Then retest it inside the combination, movement, or tactical context where the drop originally appeared.