
Technique
How to Stop Lifting Your Chin When You Punch
Use a repeatable camera angle and a controlled punching progression to identify when you raise your chin without forcing your neck into a rigid posture.

If you lift your chin when you punch, locate the first action that changes your head position. You may raise it before initiation, during extension, when you chase range, or while you recover. Do not force your chin hard against your chest. Build a comfortable, coach-approved position that you can preserve while seeing the target, breathing, moving, and defending.
In the IBA Coaches Manual, IBA instructors identify lifting the chin and leaving it unprotected among common basic-punch errors. They also present several stances, so apply the principle within your coach’s system rather than copying one frozen posture.
Find the first visible change
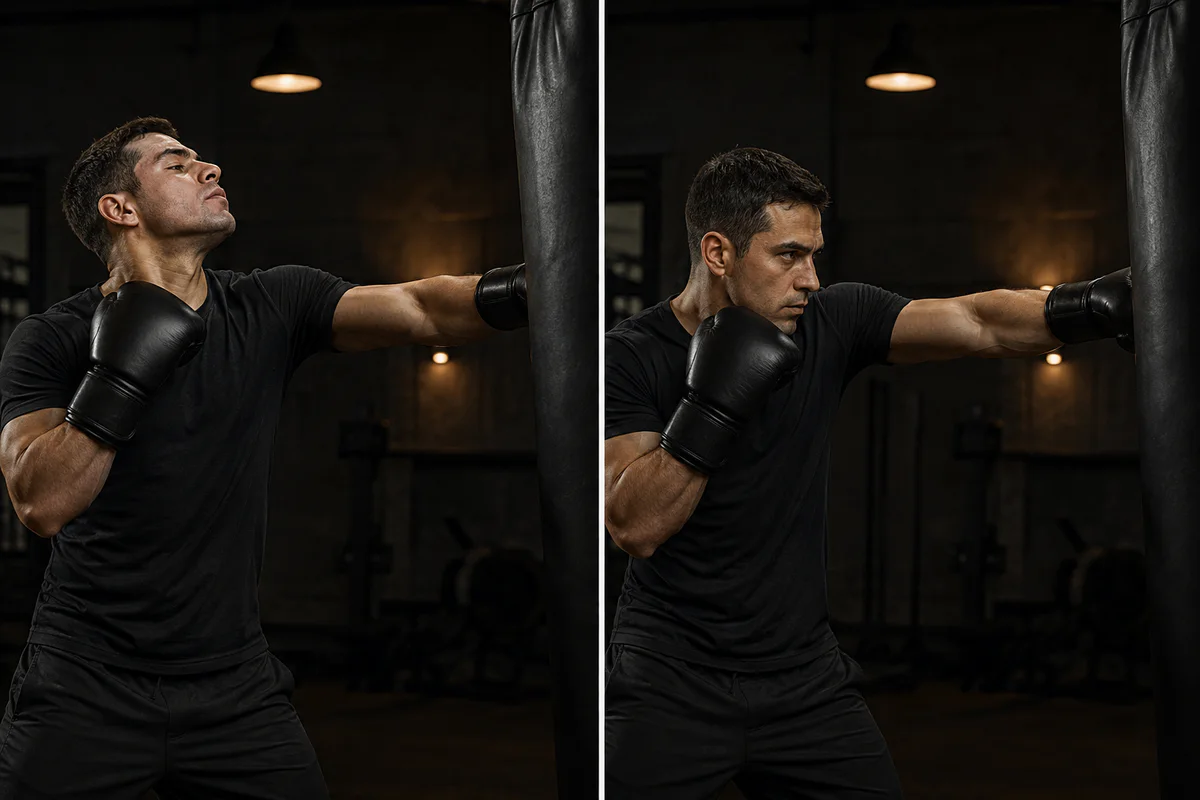
Locate the first visible change. Do not force your neck into a rigid pose to copy the comparison.
Record three single punches at controlled speed. Start with the jab, then test the rear straight in a separate set.
Pause each repetition at:
- Your settled starting position.
- The first visible movement.
- Half extension.
- Full controlled reach.
- Your completed recovery.
Use a fixed background line to compare approximate head height and orientation. Do not draw a medical conclusion from the clip. You can observe that you raised your face or extended your neck. You cannot diagnose why you did it or whether a joint position caused pain.
Use the right camera view
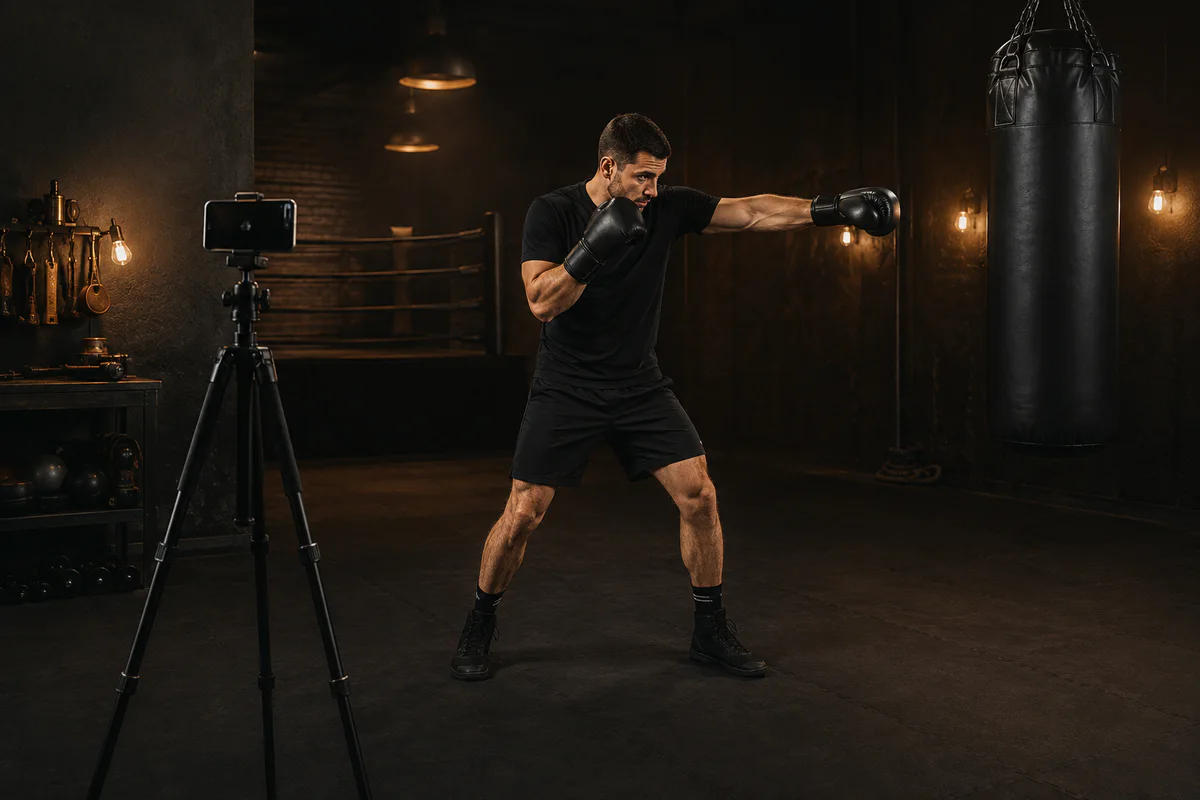
Keep the top of your head, chin, both gloves, hips, and feet visible so the clip preserves context.
From a side-front 45-degree view, you can usually see your head, lead shoulder, rear glove, trunk, and stance. Keep the lens around chest height. Avoid a low camera angle that exaggerates upward head angles.
Record several seconds before the first punch. If you pose only for the instant before initiation, you may hide your normal starting position. Use the boxing filming guide and keep your eyes, chin, both gloves, and both feet visible.
Distinguish four patterns
You begin with your face raised
Establish your starting position before you punch. Use a mirror only to set the initial reference, then rely on the recording. Keep your eyes on the target without forcing your neck down.
You raise your face as you initiate
Remove speed and power. Throw one relaxed straight punch toward a fixed point. Use a simple task such as “see the target over my gloves.” Ask whether you change position before you move your glove.
You lift as you reach
Move closer to the target and retest. You may have turned a range problem into a head-position problem. Use the overreaching protocol when you also project forward or need an unplanned recovery step.
You lift during recovery
Finish the punch, return to guard, and hold the position briefly. Check whether you relax the protective posture as soon as you believe the action has ended. Add the planned next action only after the recovery remains organized.
Build the correction in layers
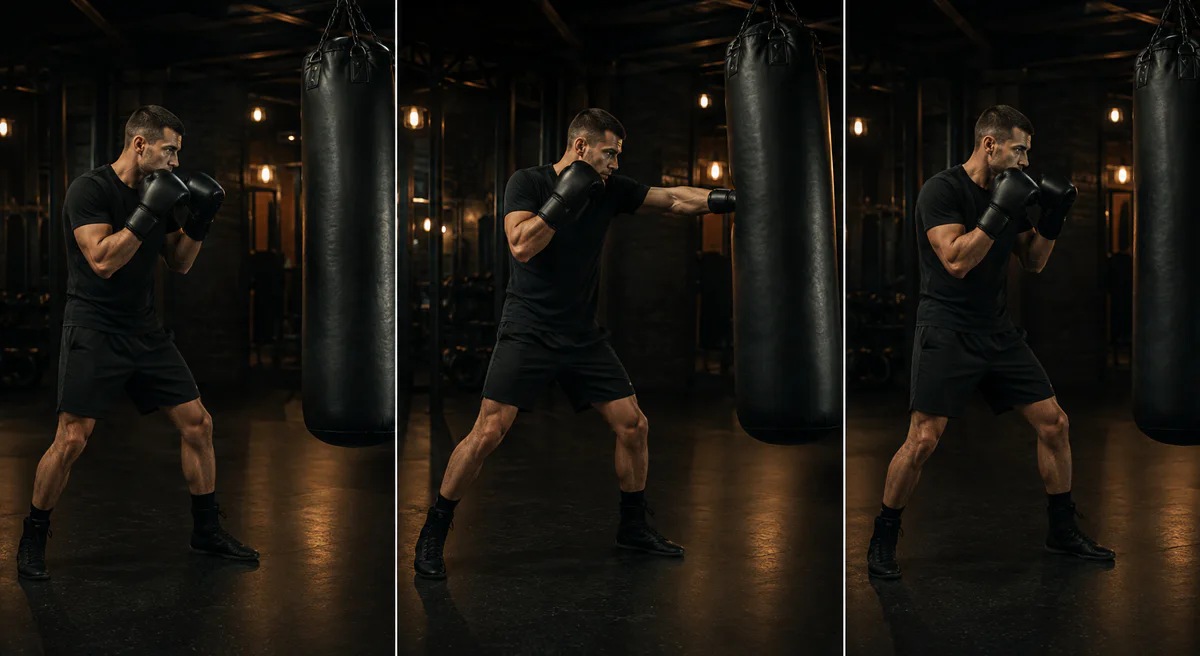
Start with a light single punch. Add speed or combinations only after you can keep clear vision and a comfortable neck position.
Layer 1: Stance and vision
Stand in your normal stance. Keep a comfortable head position and look at the target. Breathe normally. Ask your coach to confirm that you can see and defend without excessive neck tension.
Layer 2: Single jab
Throw three low-speed jabs. Keep the task external: send the glove to one point while maintaining your view of the target. Review your starting and ending positions.
Layer 3: Rear straight
Test three rear straights separately. Research on straight-punch biomechanics describes coordinated lower-limb, trunk, and upper-limb contributions. See the lead-straight analysis and the newer lead-versus-rear comparison. Those studies do not justify forcing your head into one exact angle.
Layer 4: Combination and exit
Add one jab-cross, return to guard, and take one controlled exit. Check whether complexity brings the visible lift back. If it does, return to the earlier layer.
Avoid over-coaching yourself
Motor-learning researchers do not support drowning every repetition in corrections. In a systematic review of augmented feedback, the authors describe visual, auditory, and multimodal feedback across different tasks and report varied evidence and methods. Use one visible observation and one revision per set.
Do not stack “chin down,” “shoulders relaxed,” “hands high,” “rotate,” and “move your head” into the same three-second action. Ask after which earliest correction you change the result.
Keep the safety boundary clear
Do not use this page to manage neck pain, headache, dizziness, vision changes, confusion, or symptoms after a blow. Stop contact and seek appropriate medical assessment when you suspect concussion or another injury. In the Amsterdam concussion consensus, the authors emphasize removal, clinical evaluation, and medically supervised return to sport. You cannot use a technique recording to clear yourself to continue boxing.
Use Boxing AI after you establish a baseline
You can use Boxing AI to review visible boxing technique. You cannot use it to diagnose symptoms, evaluate forces applied to your head or neck, or replace a coach or healthcare professional.
Prepare a head-position review card
Record the task and evidence in a fixed format:
Punch and target:
Camera height and angle:
Starting head position approved by coach:
First frame where you changed it:
Distance and intensity:
Repetitions affected:
One revision tested:
Symptoms present: stop and seek appropriate assessment
Use “not visible” when you cannot see the relevant position because of a glove, shoulder, shadow, or camera angle. Do not fill an evidence gap with an assumption.
Bring your coach one normal-speed set and the shortest useful slow-motion segment. Ask whether you preserved a functional position while maintaining vision and breathing. Do not ask for one universal chin angle.
Recheck the instruction on another day. Then test one progression at a time: a small step, a second punch, or a controlled cue. If you raise your face again after adding the layer, return to the previous task and identify the new transition.
Keep medical and technical records separate. If you report headache, dizziness, confusion, visual change, neck pain, or symptoms after contact, stop the technique experiment. A licensed healthcare professional must handle assessment and return-to-sport decisions.
Test vision and breathing with the correction
Do not chase a lower-looking chin position if you can no longer see the task or breathe comfortably. Ask your coach to select one visual target above the bag marker and one short verbal cue you can answer after each punch. Use low intensity and no partner contact.
Throw three controlled singles. After each one, name the visual cue or answer your coach's prompt. Record whether you kept the approved head position, maintained your view, and recovered without stiffness. If you cannot perform all three parts, reduce the range or speed and ask your coach to adjust the instruction.
Compare normal-speed footage first. Use slow motion only to locate the first frame where you change position. A fleeting frame may not represent the functional result, so confirm the same change across comparable repetitions.
Use this drill to check whether the correction fits the boxing task. Do not use it to test neurological function or replace medical assessment after contact or symptoms.
Your pass standard
You pass the controlled test when you can complete the chosen punch, preserve a comfortable coach-approved head position, see the target, and recover into the next action across repeated attempts. You do not pass by forcing one photogenic freeze frame.